How to Start a Vegetable Garden From Seeds


You might be intimidated by the idea of growing your own food, but the learning curve isn’t as steep as you think. After all, people around the globe have been growing plants from seed for centuries. In addition to providing you with a rewarding learning experience, starting a vegetable garden from seeds has a funny way of giving you a deep sense of pride and respect for the food that feeds your family.
Follow the simple steps below to learn how to grow a vegetable garden from seeds:
Step 1: Decide what vegetables to grow
There are a few ways you can tackle this first step. You might want to start by determining how much available space you have, or you could begin by making a list of the fruits, vegetables and herbs you want to grow.
Once you have a good idea of what you want to grow and where you’re going to grow it, you can pick up seeds from your local garden or hardware store or order from a reliable source online.
Take a look at the information on the back of your seed packets and take note of how long it takes for your chosen seeds to grow. That way, you know when to get them in the ground.
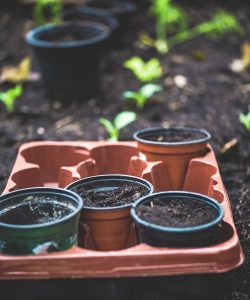
Step 2: Gather seed starting materials
Depending on the time of year, you may want to begin your seeds indoors. Many gardeners do this to get a head start on the season by giving the plants time to grow in a controlled environment before transplanting them outside.
Seed starting materials vary depending on what you’re growing, but the basic list of supplies includes:
- Seed starting trays
- Grow lights (optional)
- Seed starting soil
Some plants will germinate easily in a south-facing window, but grow lights from your local hardware or garden supply store can accelerate the process.
You can also skip the seed starting trays and use small plastic or styrofoam cups (or any other container that is at least 2 to 3 inches deep). If using cups, be sure to poke holes in the bottom to allow the soil to drain.
See more: Indoor Gardening Guide
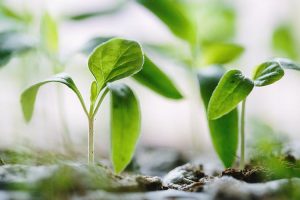
Step 3: Grow your seedlings
Different plants grow better in different conditions, so read and follow the directions on each individual seed packet you purchase. Some seeds can simply be scattered on top of the soil while others need to be planted deeper to germinate in darker conditions.
As the seeds begin to grow, keep the soil moist but not saturated. Some gardeners prefer to bottom water their seedlings rather than watering them from above.
See more: 9 Creative Spring Gardening Projects for Kids
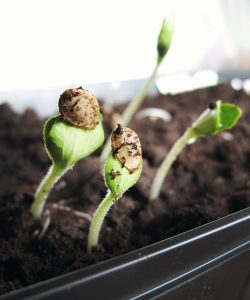
Unless your seed packet says otherwise, use a half-strength fertilizer once the seedlings have developed one to two sets of true leaves. Be careful not to confuse the true leaves with the cotyledon leaves, which are often the first leaves to appear after the seed germinates.
Depending on what you’re growing, you may also want to transplant your growing seedlings into larger containers as they grow bigger.
Step 4: Transplant to the garden
Before you transplant any of your seedlings into your garden, determine the final frost date for your area. Some plants, like leafy greens, can go outside a few weeks before the final frost. Others, like tomatoes, do best when the outdoor temperature is at or above 50 degrees.
Once you know the final frost date, you can make a plan to harden your seedlings. This simply means acclimating them to the outdoors about a week before moving them outside for good.
Start by setting the seedlings out in a protected area for 30 minutes a day and gradually work your way up to keeping them outside for the entire day. Allowing them to slowly adjust to the elements will give them a better chance of survival once they are transplanted permanently outdoors.
See more: 8 Water-Conserving Tips for Summer Gardening
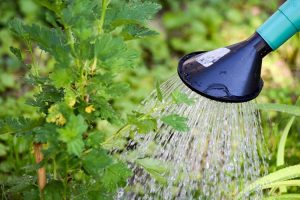
Step 5: Water, fertilize and harvest
Because many plants have specific needs after transplanting, follow the specific seed packet instructions for watering and fertilizing once they’re in the ground. With any luck, you’ll have an abundance of food to harvest and enjoy within a few months.