How to Make a Pumpkin Planter for Your Front Porch This Fall


Can you ever have too many pumpkins on your porch? To each his own, but we would argue no way. If you are on the hunt for another reason to collect a few more of these beloved gourds for the season, we have you covered with this fun fall DIY project. Read through the steps below to learn how to make a pumpkin planter for your front porch this season.
Tools and Materials
Gather all of your tools and materials before diving getting started on you planter. We also recommend clearing a space on your porch, deck or patio to keep the mess out of the house. Here’s what you’ll need:
- Sharp knife
- Pencil
- Large spoon
- Mixing bowl
- Large pumpkin
- Potted plants
- Newspaper
See more: Fall Garden To-Do List
How to Make a Pumpkin Planter Step by Step
Follow these step-by-step instructions to create the perfect pumpkin planter for your porch.
1. Pick your pumpkin and plants
There are a few important things you want to take into consideration before choosing just any old pumpkin and potted plant.
Let’s start with the pumpkin. Unless you want to create an arrangement of several small planters, you need to choose a pumpkin that is large enough to make a statement. Look for pumpkins with round tops and flat bottoms that won’t tumble over easily. Once you find one that catches your eye, give it a gentle squeeze to make sure it isn’t soft. Ripe pumpkins will spoil quickly and attract pests to your front porch.
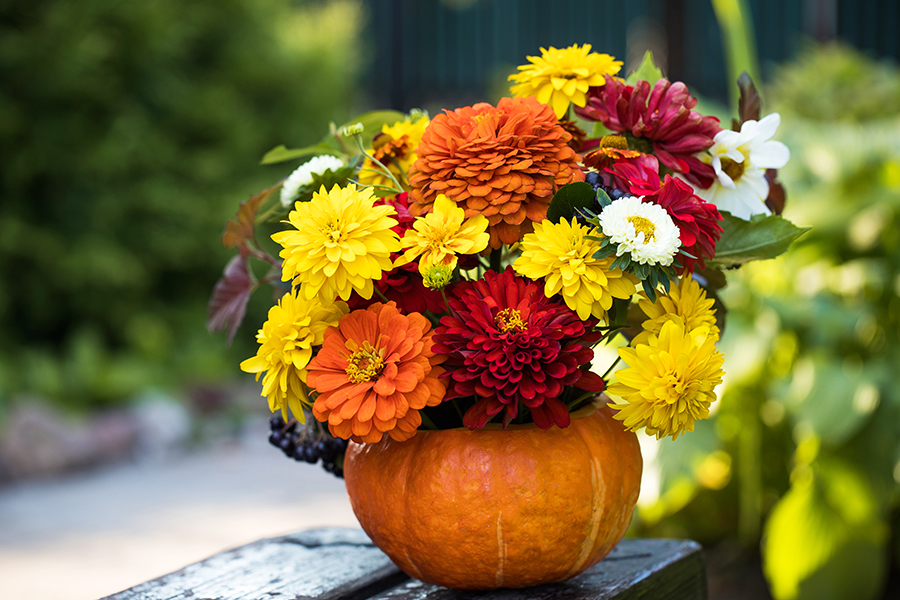
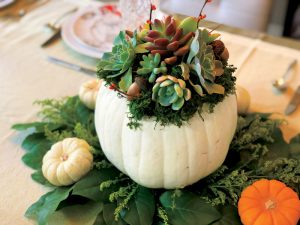
Once you have your pumpkin picked out, you can move onto choosing the potted plant. If you’re perusing your local nursery or garden center this time of year, you’ll likely find everything from sunflowers and daises to pansies and mums. You could even go with an assortment of succulents. Get creative with colors, textures and sizes. Just be sure that whichever plant you choose will sit deep enough in the carved pumpkin to hide its container.
See more: How to Keep Your Carved Pumpkin Fresh in 4 Simple Steps
2. Carve your pumpkin
Make sure you have a knife that is large and sharp, and set your pumpkin on a stack of newspaper to make cleaning up a breeze. Use a pencil to trace the bottom of the potted plant container above the stem of the pumpkin so the plant will sit comfortably inside once the pumpkin is cut.
3. Clean out the pumpkin
Time to break out the spoon. Be sure to remove as much of the sticky flesh and pumpkin seeds as possible. It won’t hurt your potted plants, but it will create an odor that could tempt rabbits and deer to your porch. This is also a good time to carve out a little extra space around the edges if you think the plant container will need more wiggle room to nest inside.
See more: 7 Ways to Use Pumpkin Seeds After Carving Your Jack-O’-Lantern
4. Carve a small hole in the bottom of the pumpkin
Just like potted plants need a small drainage hole at the bottom of their containers, your pumpkin planter needs a hole carved at the bottom too. If you forget to put a drainage hole in the bottom, any excess water you pour into the pot will linger at the bottom and accelerate rotting. It could also drown your plants – neither of which is a fun way to end this project.
5. Drop in your potted plant
The moment of truth has arrived. Set your potted plant inside the pumpkin and see if you need to make any adjustments. If you need to widen the top of the pumpkin, go ahead and carve out a little more space. If the container sits too far down, add newspaper or wood scraps (like sticks and branches) to give it a boost. You might even want to adjust the leaves of your plant to drape down over the edge of the hole to give it a more uniform appearance.
See more: 12 Flowers to Beautify Your Landscape This Fall
6. Find the perfect spot for your new pumpkin planter
Other than watering and fertilizing your new plant, the only thing left to do is find the perfect spot for your new planter. Try to place it in a spot that offers enough sun for the plant to thrive but not so much that it speeds up the rotting process of the pumpkin. You can also rotate your pumpkin every few days to keep one side from receiving too much sun and dry off the bottom of the gourd to prolong its life.
Love your new pumpkin planter and want more? Consider picking up another matching pumpkin and plant and placing them on either side of your front door. Or pick pumpkins in various sizes and colors and arrange them in groups of three or five with an assortment of miniature mums, daisies and dianthus for a playful and cheery look.