Seed Starting Tips Every Gardener Should Know


Gardeners everywhere know how quickly growing your own food or flowers goes from an experiment to a beloved hobby repeated year after year with eager anticipation of spotting those first buds breaking through the soil. But before you start tearing open the seed packets and untangling your grow light cords this spring, take a quick look at these seed starting tips for success.
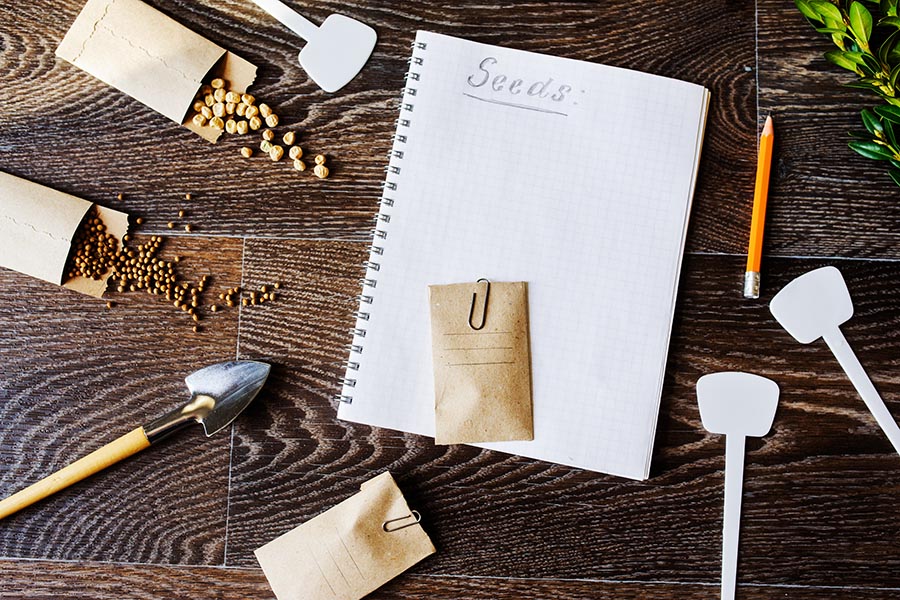
Store Seeds Properly
Peeling open a fresh packet of seeds is one of the most satisfying feelings a gardener experiences in the spring, but storing your extras is equally important if you want to plant the same varieties again next year. Reseal the packaging with tape or transfer the seeds into an airtight bag to minimize their exposure to oxygen. Store them in a cool, dry and dark place, and you’ll be able to use them again for subsequent growing seasons.
See more: How to Start a Vegetable Garden From Seeds
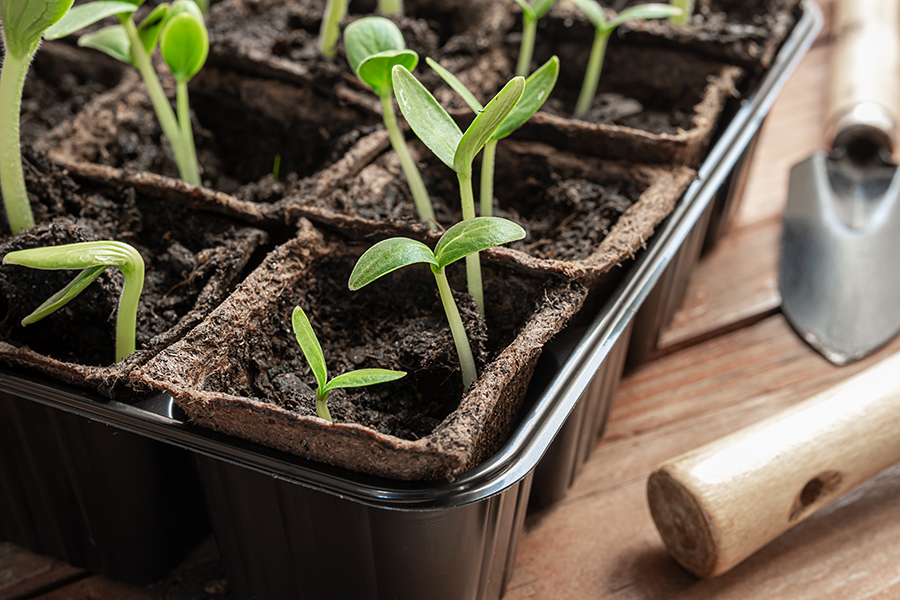
Invest in High-Quality Seed Starting Soil
Not all soil is created equal, which is why you may not have great success starting your own seeds if you simply scoop a few handfuls of dirt from your backyard to jumpstart your growing season. Seed starting mix is specifically designed to be light and airy, a combination that lends itself to the delicate process of growing a plant from seed. You can purchase a mix from your local garden center or create your own using a combination of compost, perlite, vermiculite and peat moss.
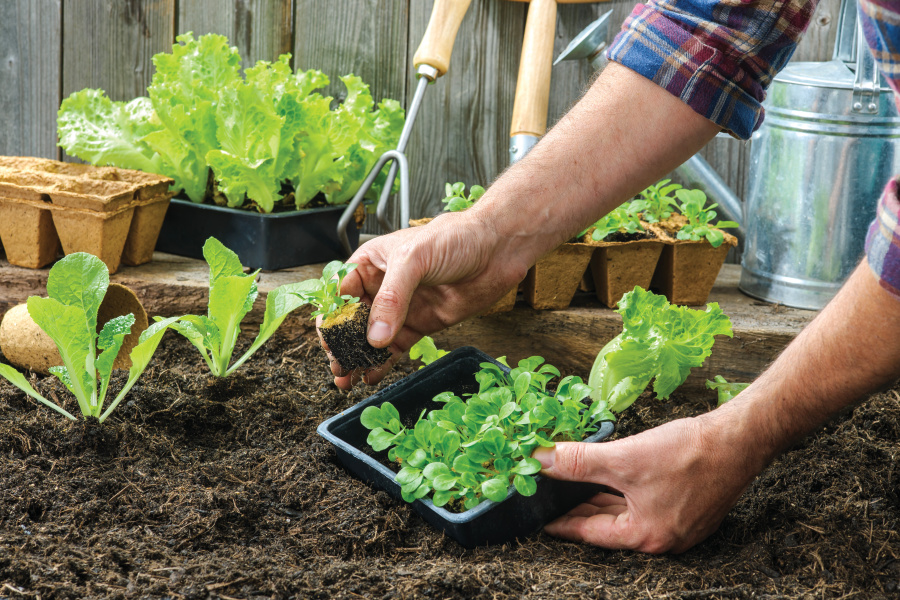
Label Everything
Warmer weather, new seed packets and spring fever can lead to starting loads of seedlings without making time to carefully label each tray. Even the best and brightest gardeners forget which variety is which when they don’t take the time to write down the details of their soon-to-be-budding collection. It’s tempting to skip this step, but your future self will thank you for going the extra mile with accurate labels.
See more: 12 Flower Varieties to Plant This Spring
Tamp Down Seeds
It might sound obvious, but seeds need to be in direct contact with soil in order to grow and flourish. Tamping down simply ensures that your newly planted seedlings are gently compressed into the soil, where they’ll receive the nourishment they need to germinate and grow strong. You can purchase a tamper online or make your own using something as simple as a small piece of scrap wood.
See more: 9 Creative Spring Gardening Projects for Kids
Cover Newly Started Seeds With Plastic Wrap
Did you know you can use plastic wrap to speed up the germination of your seeds? If you’re starting your seeds in a container or tray, simply spray the soil with a light mist of water and cover them loosely with plastic wrap, a freezer bag or any other clean plastic material you have around the house. The combination of heat and moisture will help the seeds grow faster.
Prioritize Good Drainage
You can start your seeds in trays purchased from a garden supply store, or you can use all manner of items you probably have around the house. Egg cartons and empty yogurt containers, for example, work beautifully to start seeds in. But if you go this route, make sure you poke holes in the bottom so water can drain. Otherwise, you may drown the seeds and never see a single sprout.
Water Seedlings From the Bottom
Seedlings are delicate, and watering them from above can be a tricky business. If the pressure is too strong, they can wilt and die. If they don’t get enough water, they can wither away. Bottom watering is a wonderful alternative that not only supplies the entire root system with an adequate drink but also lessens the likelihood of problems like disease or mold.
See more: Spring Gardening To-Do List
Use a Heat Mat
While you don’t need to use a heat mat to grow healthy seedlings, they do offer a few benefits that could make the investment worth it. Heat mats warm up the soil in the seed starting container and help seedlings not only germinate more quickly, but more evenly. Many gardeners see higher rates of germination and more predictable rates of growth when using a heat mat.
Know Your Final Frost Date
Before you can transfer your seedlings into their permanent spots in the great outdoors, you need to know your area’s final frost date. Some plants, like members of the brassica family, can handle a light frost. But the majority of young plants need warmer temperatures to thrive. You can quickly and easily find the frost dates for your area at Almanac.com.
See more: How to Start a Modern-Day Victory Garden to Help Feed the Hungry
Gradually Harden Off Seedlings
You have to walk before you run. Throwing your seedlings outside as soon as the danger of frost has passed is a surefire way to ruin all your hard work. Because they’ve never been exposed to direct sun, wind and other weather patterns, plants need to gradually acclimate to life outside. There are several methods to hardening off your seedlings, but the general idea is to slowly build them up to a full day in direct sunshine.
Keep Good Records
Good record keeping will make your gardening life much easier when the following season rolls around. Keep notes of which seeds you started, how they grew, when you transplanted them, the flavors of the food they produced and what you learned along the way. Making small tweaks each season can help you become more efficient and successful as a gardener, so it’s well worth the extra effort required along the way.